

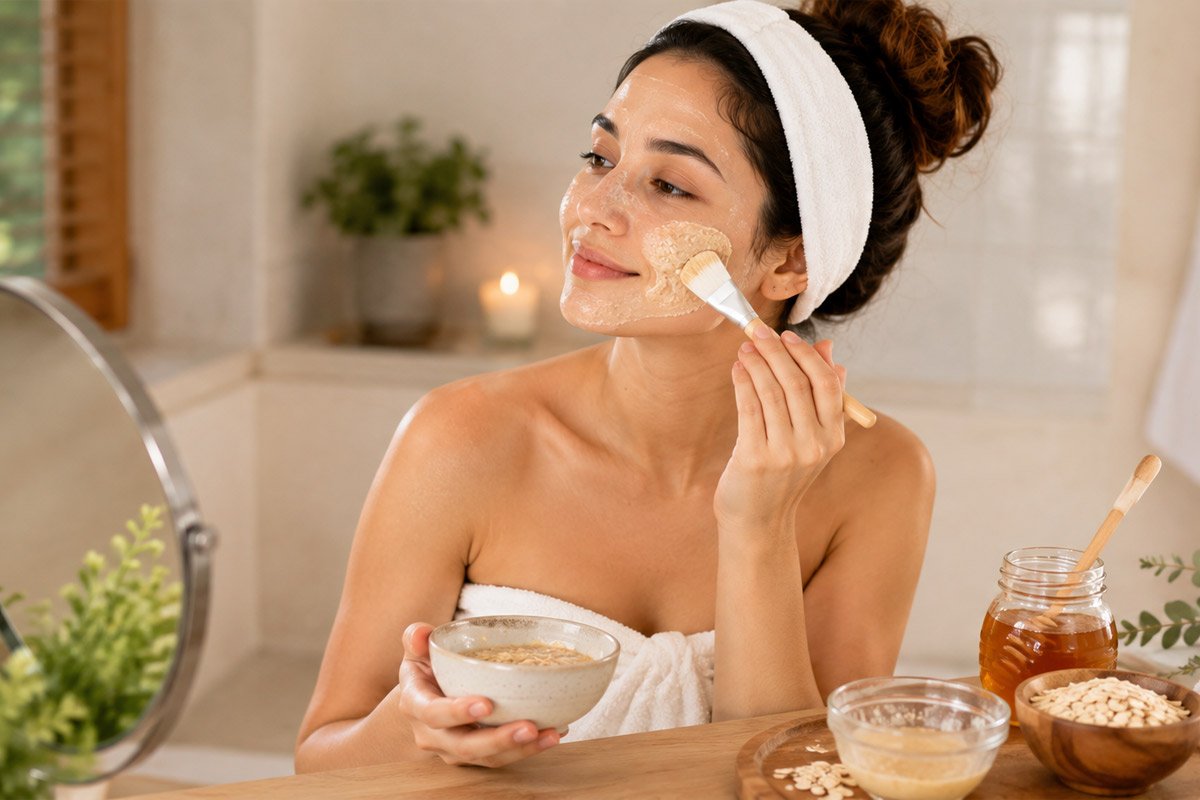
Making an effective face mask at home isn’t complicated, but skipping the right steps is exactly how people end up with irritation instead of a glow. Here’s a simple, ten-step process that works for any skin type, along with the reasoning behind each step so you’re not just following instructions blindly.
Step 1: Identify Your Skin Type First
Before choosing any ingredients, figure out whether your skin is oily, dry, combination, or sensitive. This single step prevents most DIY mask disasters — an ingredient that works beautifully for oily skin (like clay) can leave dry skin feeling tight and irritated.
Quick self-check: If your skin looks shiny by midday, it’s likely oily. If it feels tight after cleansing, it’s likely dry. If you get both oily and dry patches, it’s combination. If products regularly cause redness or stinging, treat your skin as sensitive.
Step 2: Choose a Base Ingredient Suited to Your Skin Type
- Oily skin: Multani mitti (fuller’s earth) or plain clay — absorbs excess oil
- Dry skin: Mashed banana, avocado, or honey — adds moisture
- Combination skin: Yogurt or gram flour (besan) — balances without over-drying
- Sensitive skin: Oatmeal or aloe vera — gentle and calming
Step 3: Add a Purpose-Specific Ingredient
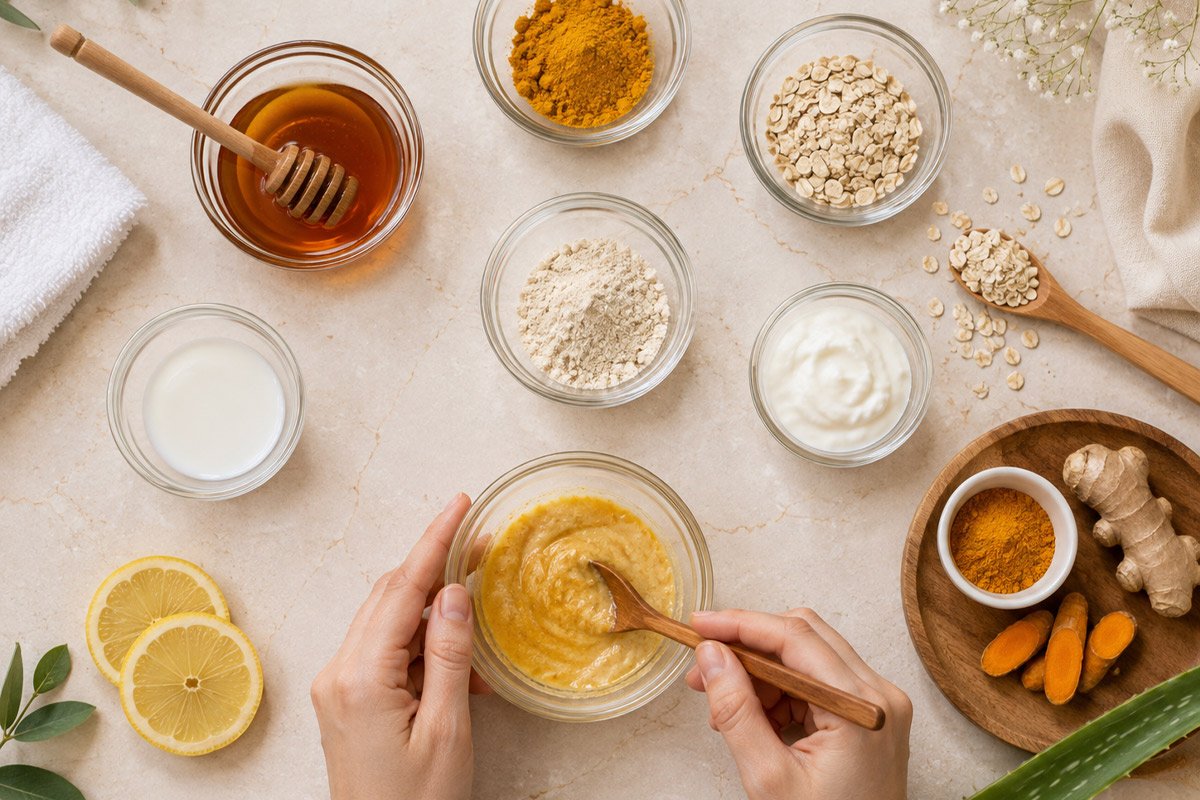
Once your base is chosen, add one ingredient targeting your specific concern:
- For brightening: a few drops of lemon juice or a pinch of turmeric
- For acne-prone skin: a small amount of tea tree oil (always diluted)
- For hydration: honey, which has natural humectant properties
- For soothing: aloe vera gel
Important: Add only one active ingredient at a time. Combining too many “powerful” ingredients is the most common reason DIY masks cause irritation instead of results.
Step 4: Mix to a Spreadable, Not Runny, Consistency
The mask should be thick enough to stay on your face without dripping, but not so thick it’s difficult to apply evenly. Add liquid ingredients (like rose water or honey) a little at a time until you reach the right texture.
Step 5: Always Patch Test First
This step gets skipped constantly, and it’s the one that prevents most bad reactions. Apply a small amount of the mixed mask to your inner forearm or behind your ear, and wait 24 hours before applying it to your face — especially with new ingredients like turmeric, lemon, or essential oils.
Step 6: Cleanse Your Face Before Applying
Apply the mask to clean, dry skin. Masking over makeup, sunscreen, or the day’s buildup traps dirt against your skin rather than letting the ingredients actually work.
Step 7: Apply With Clean Hands or a Brush
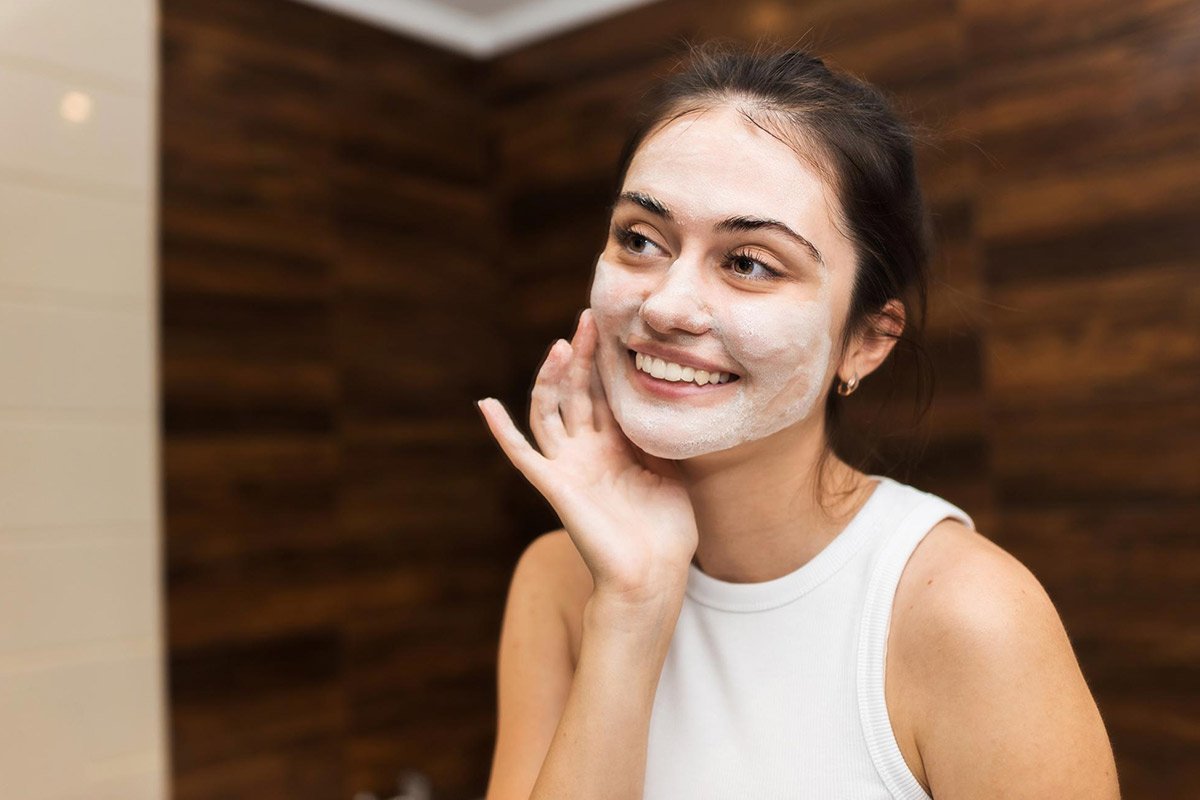
Use clean fingertips or a soft brush to apply an even layer, avoiding the delicate under-eye area and the corners of your mouth, which tend to be more sensitive.
Step 8: Leave It On for the Right Amount of Time
This varies by ingredient, but a general rule:
- Clay-based masks: 10–15 minutes maximum (longer can over-dry skin)
- Hydrating masks (honey, banana, avocado): 15–20 minutes
- Gentle, soothing masks (oatmeal, aloe): up to 20 minutes
Leaving any mask on far longer than recommended, especially clay, doesn’t improve results — it usually just increases dryness and irritation.
Step 9: Rinse With Lukewarm Water, Not Hot
Hot water strips natural oils and can leave skin feeling tight and irritated right after a mask, undoing the benefit you just gave it. Use lukewarm water and gently pat, rather than rub, your skin dry afterward.
Step 10: Always Follow With Moisturizer and Sunscreen (If It’s Daytime)
A mask isn’t the final step of a routine — it’s a treatment step. Skin is often slightly more porous and receptive right after masking, making this an ideal time to apply a moisturizer that suits your skin type, and sunscreen if you’re heading out afterward, especially if your mask included exfoliating or brightening ingredients like lemon.
A Few Quick Answers
How often should I use a DIY face mask?
Once or twice a week is generally enough for most skin types. Daily masking, even with gentle ingredients, can disrupt your skin’s natural balance.
Can I mix multiple masks together for faster results?
It’s better not to. Combining several “active” ingredients at once increases the risk of irritation without necessarily improving results faster — skin doesn’t work on a more-is-better basis.
My skin feels tight after a mask — is that normal?
Mild tightness right after rinsing is common, especially with clay masks, but it should ease once you moisturize. Persistent tightness, redness, or stinging is a sign to skip that ingredient in the future.
Quick Recap
- Identify your skin type
- Choose a suitable base ingredient
- Add one purpose-specific ingredient
- Mix to a spreadable consistency
- Patch test before full application
- Cleanse skin first
- Apply evenly with clean hands or a brush
- Time it correctly by mask type
- Rinse with lukewarm water
- Follow with moisturizer and sunscreen
DIY face masks can genuinely be effective when the steps are followed properly — the key is patience, the right ingredients for your skin type, and resisting the urge to combine everything “powerful” into one mask.
Which DIY mask combination are you going to try this week? Let us know in the comments, and follow us for more simple, effective skincare guides!